
Tuesday's Tip #26: Mailing Labels from an Excel List made EASY
Print Mailing Labels in Word from an Excel list
Whether it's for work or for personal reasons, odds are at one time or another - you'll need to print out labels with mailing addresses. Whether it's a shower, wedding, graduation, newsletter, business announcement or some other reason for mailing to a group, you probably have or have gathered a list of names and addresses and need to get them into labels. Here's the EASIEST way.
Step 1: Gather the Information in Excel
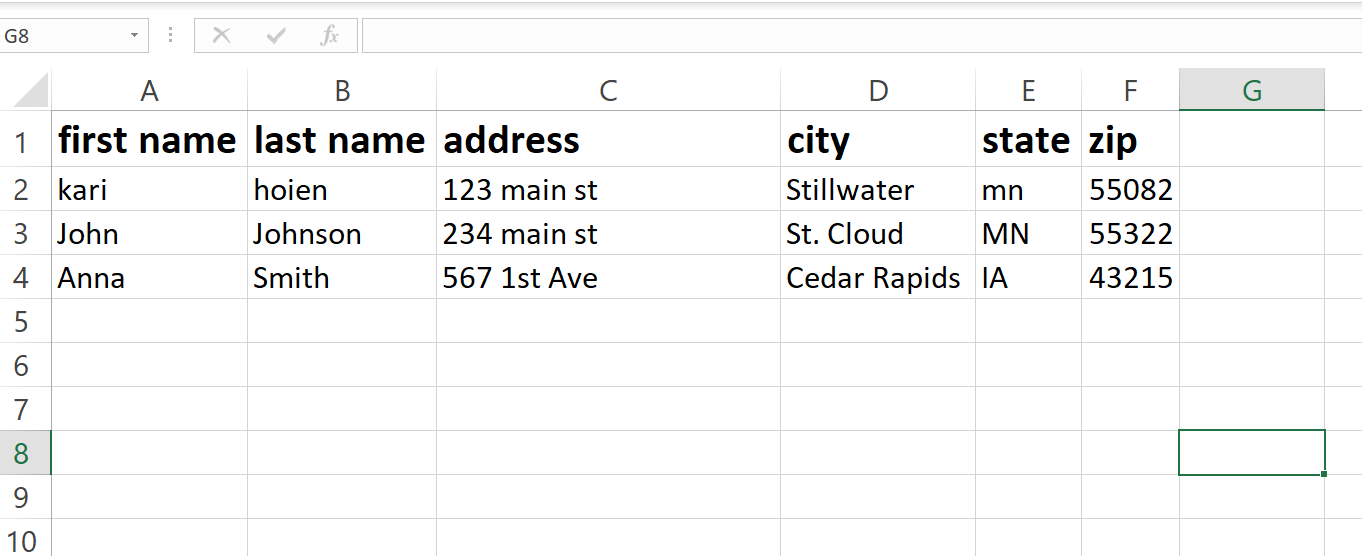
In simplest form you will gather information into a simple spreadsheet that looks something like this, with separate columns for each piece of information. For example, first name, last name, address, city, state, and zip.
Step 2: Find the labels you will Use (size)
It's important to know before you start the size of labels you are going to use so you can set the document up properly. The most common address label to use is a 5160 label size.
Step 3: Create the Word file, Complete Merge and Print
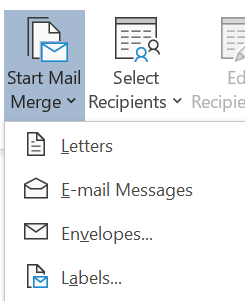
- In Word, go to Mailings...Start Mail Merge...Labels...
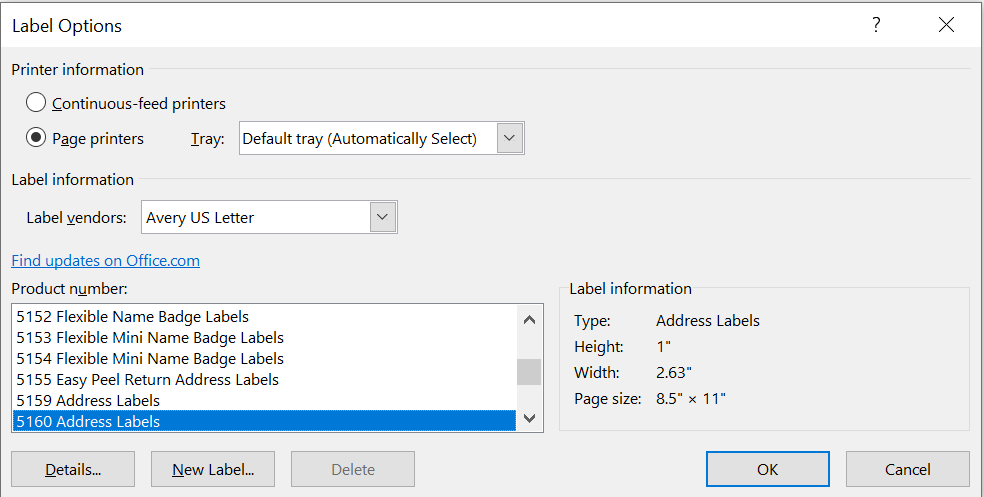
- In the dialog box, choose the labels you will use (the most common is 5160) and click OK.
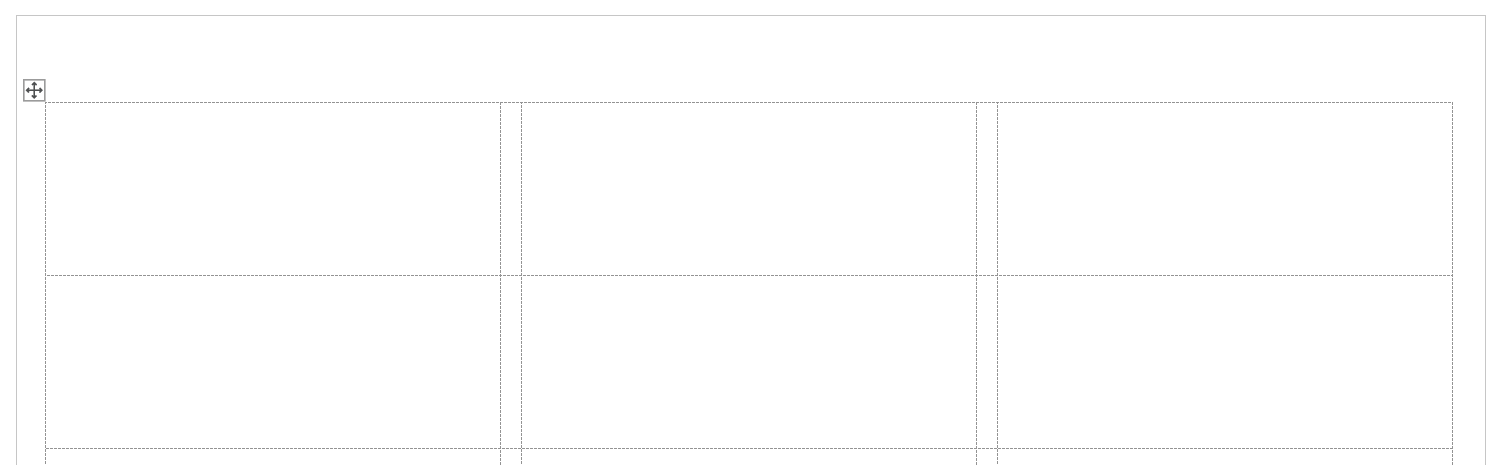
- You will now see on your Word screen, a layout of all the labels, empty.
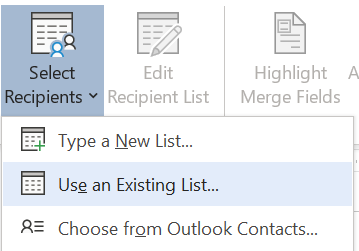
- Now, we need to link the Excel file. In the Mailings ribbon, choose Select Recipients...Use an Existing List (this is where we will locate the Excel file).
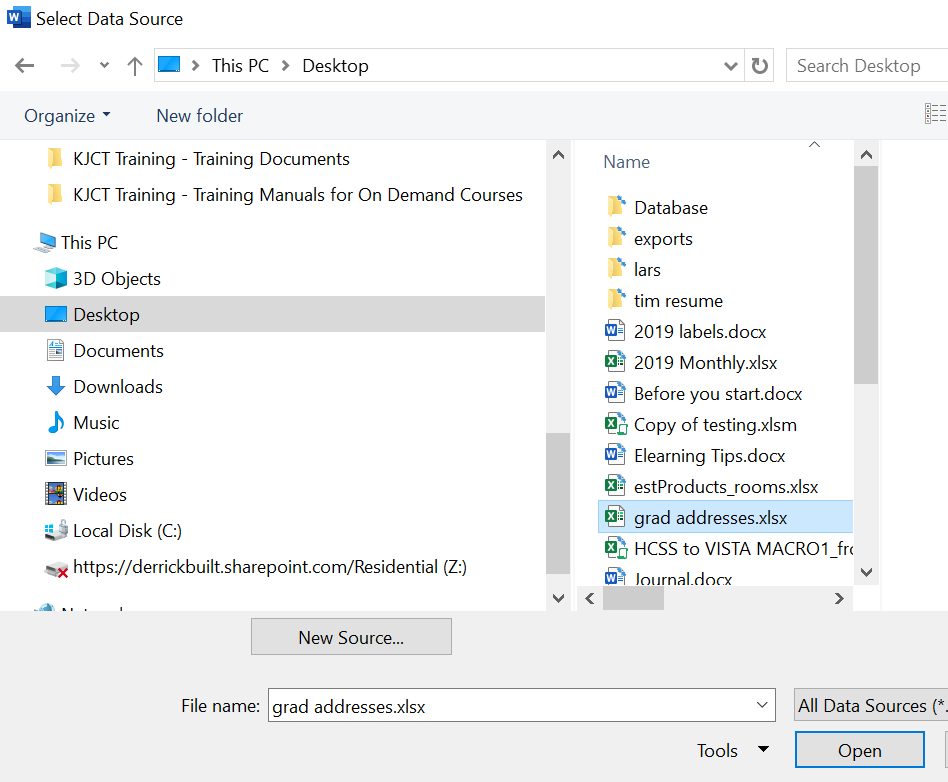
- Use the dialog box to browse to the Excel file and select it and click Open.
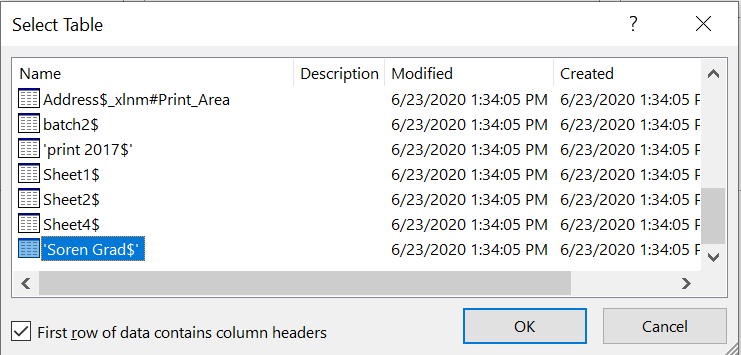
- In the next dialog box, select the sheet in Excel that contains the list.
- Once your list has been selected, your Word screen will look like this.

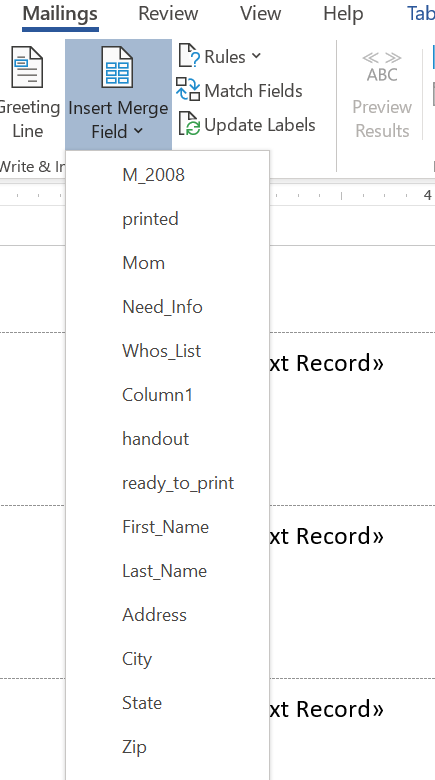
- Now you need to tell Word which fields you want and in what order. Use the Insert Merge Field button to select the fields in your Excel file and add them to the label. You only need to do this to the first label. Make sure you include spaces, enters, commas as you want them to appear.
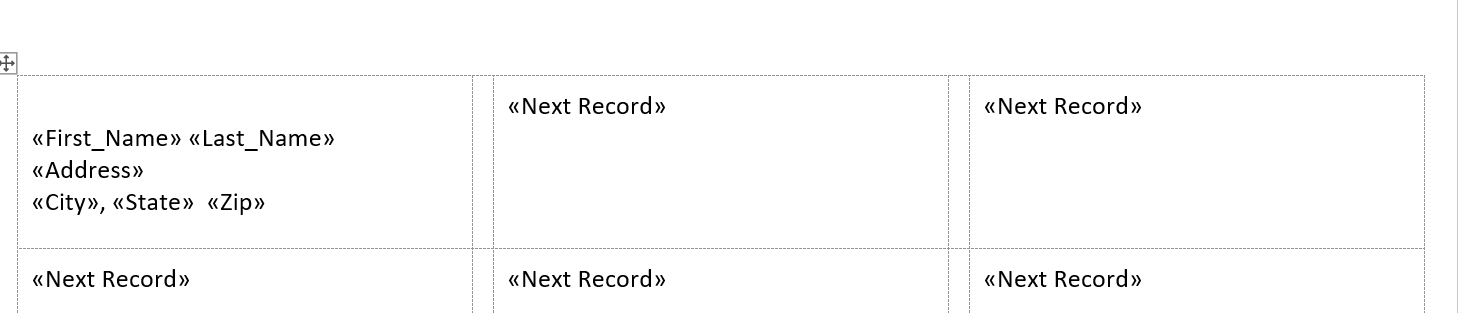
- Once you've picked all your fields, it should look something like this.
- Now we need to copy these fields to all the remaining labels on the page. Use the Update Labels button.

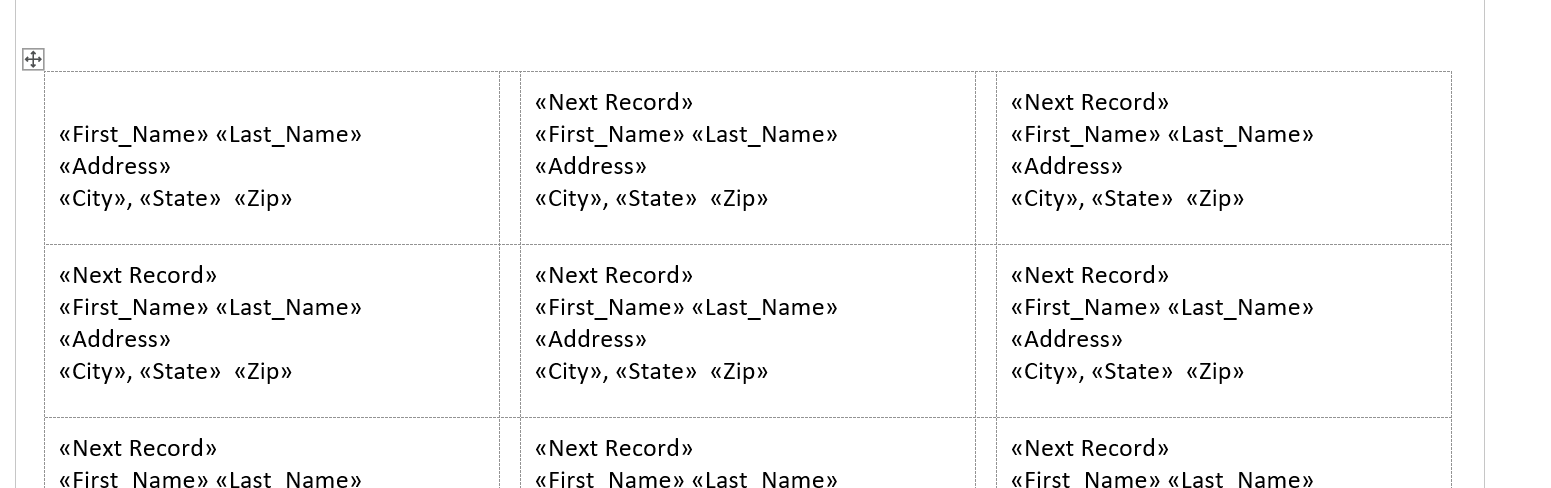
- Once the fields have been updated, your Word doc should look something like this.
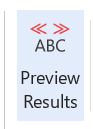
- Now we're ready to preview the labels. Use the Preview Results button.
- Now your labels should look more like labels, similar to this.

- Now we're ready to merge them. So far - we have only previewed what they will look like, the merge will create a new, separate document. The preview only shows a single page, the merge will create a document with ALL the addresses you have in the Excel file in a label format ready to print.
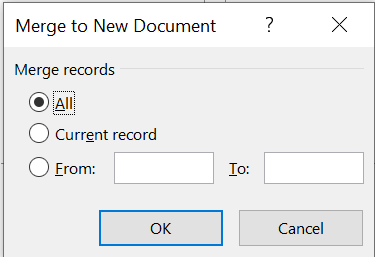
Choose Finish and Merge.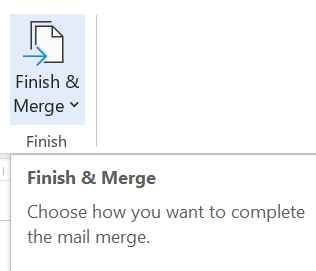
- You will be prompted with the following dialog box, for our purposes, choose all.
- Now you will see a new Word document has been created, it is ready to print, It has a different name (probably something like labels1). You can save it if you want but don't need to. This document can be edited. It is not linked to the merged doc or the Excel file any longer.

