
Tuesday's Tip #32: Move Over Clip Art, Check Out 3D Models
Aug 11, 2020
Take Notice: Microsoft Office had NEW and IMPROVED Clip Art AKA 3D Models
You've used clip art for a long time, if you're like most people. The funny icons, cute images, interesting graphics. You inserted it into your PowerPoint presentations to give viewers a break from the monotony of just text. In Word, you added images to jazz up your newsletters and reports.
3 Reasons 3D Models are Cooler than Clip Art
- You can customize it by changing the angle and tilt to show it EXACTLY how you want to.
For example, if you're using a 3D model of a robot, it allow you to view it from any angle, not just one. - If it's animated, you can view the animation from any angle.
For example view the pumping of a heart from the bottom or the side. - You can use the Pan and Zoom feature to control what shows in your "frame".
If the image is too general, you can Pan and Zoom in to show the particular details from a particular angle.
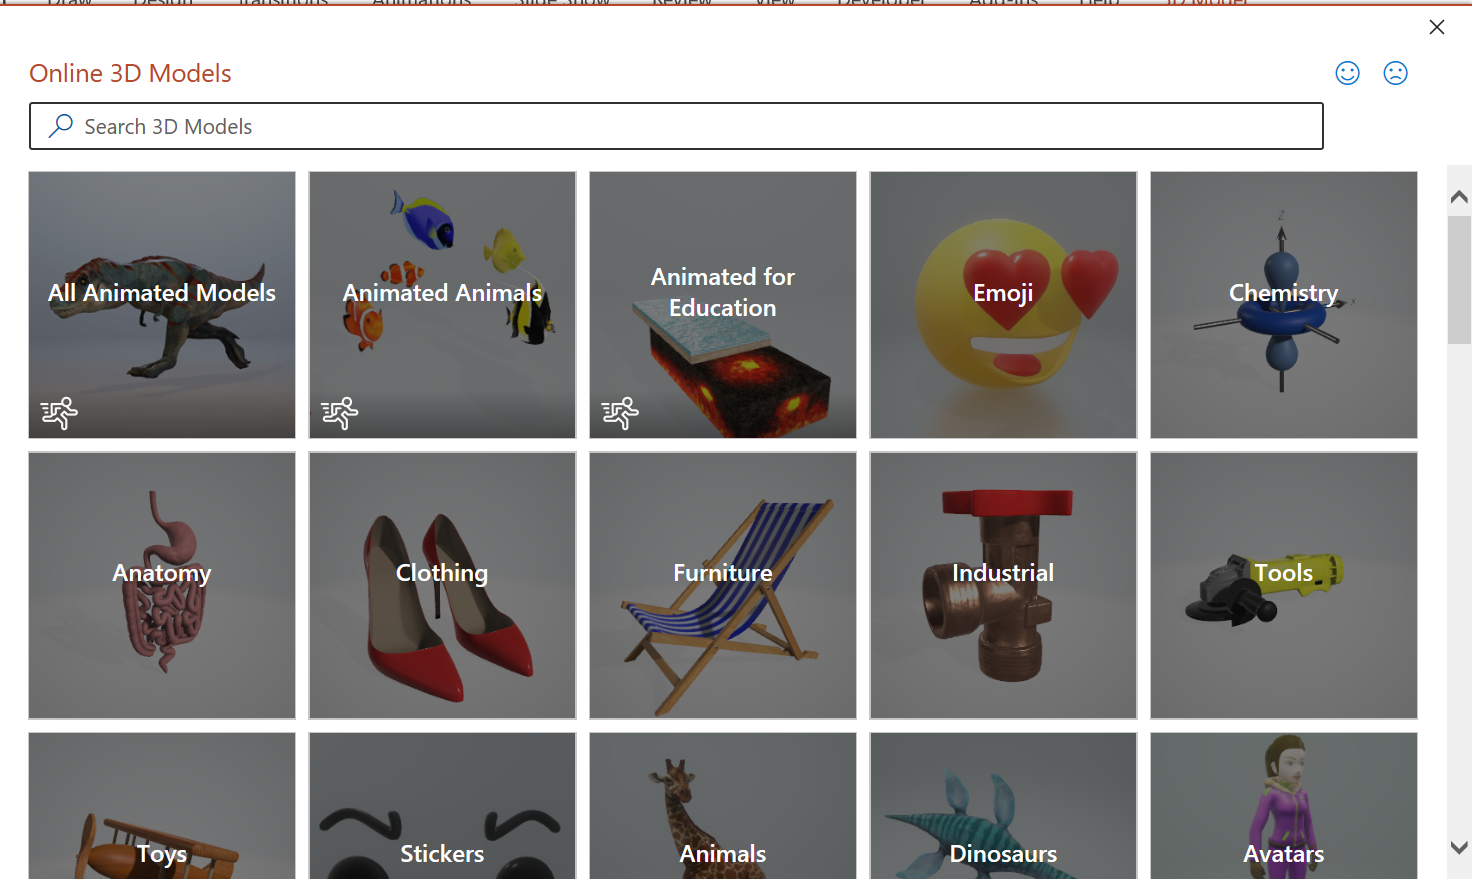
How to Insert 3D Models
- In your O365 App, click on Insert on the ribbon.
- In the Illustrations group, click 3D Models...From Online Sources.

- In the library, select a category and an image and click Insert.
- With the model selected, use the 3D Models ribbon to customize it.

Take a quick watch of the video and see the main features of 3D Models.
